Ignition Coil
Posted: 23/01/16 18:39
Back in November I had a little splutter when I was driving in the rain.
Now when I got the car 5 years ago I noticed the coil had cracks in the plastic casing. It still worked but should have been replaced. At the time I was on a deadline and very tight budget so I just sealed up the cracks with RTV silicon sealant.
Then yesterday on the way to work I was happily driving down a dual carriageway on the outside lane when the engine cut out on me. At this point the dual turned into 4 lanes at a massive junction/roundabout and I was on the right hand lane (the least used for this junction). So hazards on, out of the car for safety and on the phone to the AA. They took a couple on mins to answer and then going thro all the faff was another 3 or 4 mins, so before hanging up I thought i'd try to start it one last time. Thankfully she sprang into life.
My theory is the engine heat dried out the coil enough for it to work again but I knew I needed a new one. So once I got to work I phoned tcbparts @ 1pm and got the new coil @ 10am this morning A good job really as the car wouldn't start this morning.
Now onto the crux of my post.... I don't need any help, I just thought I would post up some pointers especially as recently I have noticed a few posts relating to non start and poor running in the wet that could be related to the coil.
First up is my old knackered coil This is a rev 1 with 7mm ht leads so the part number is specific to that.
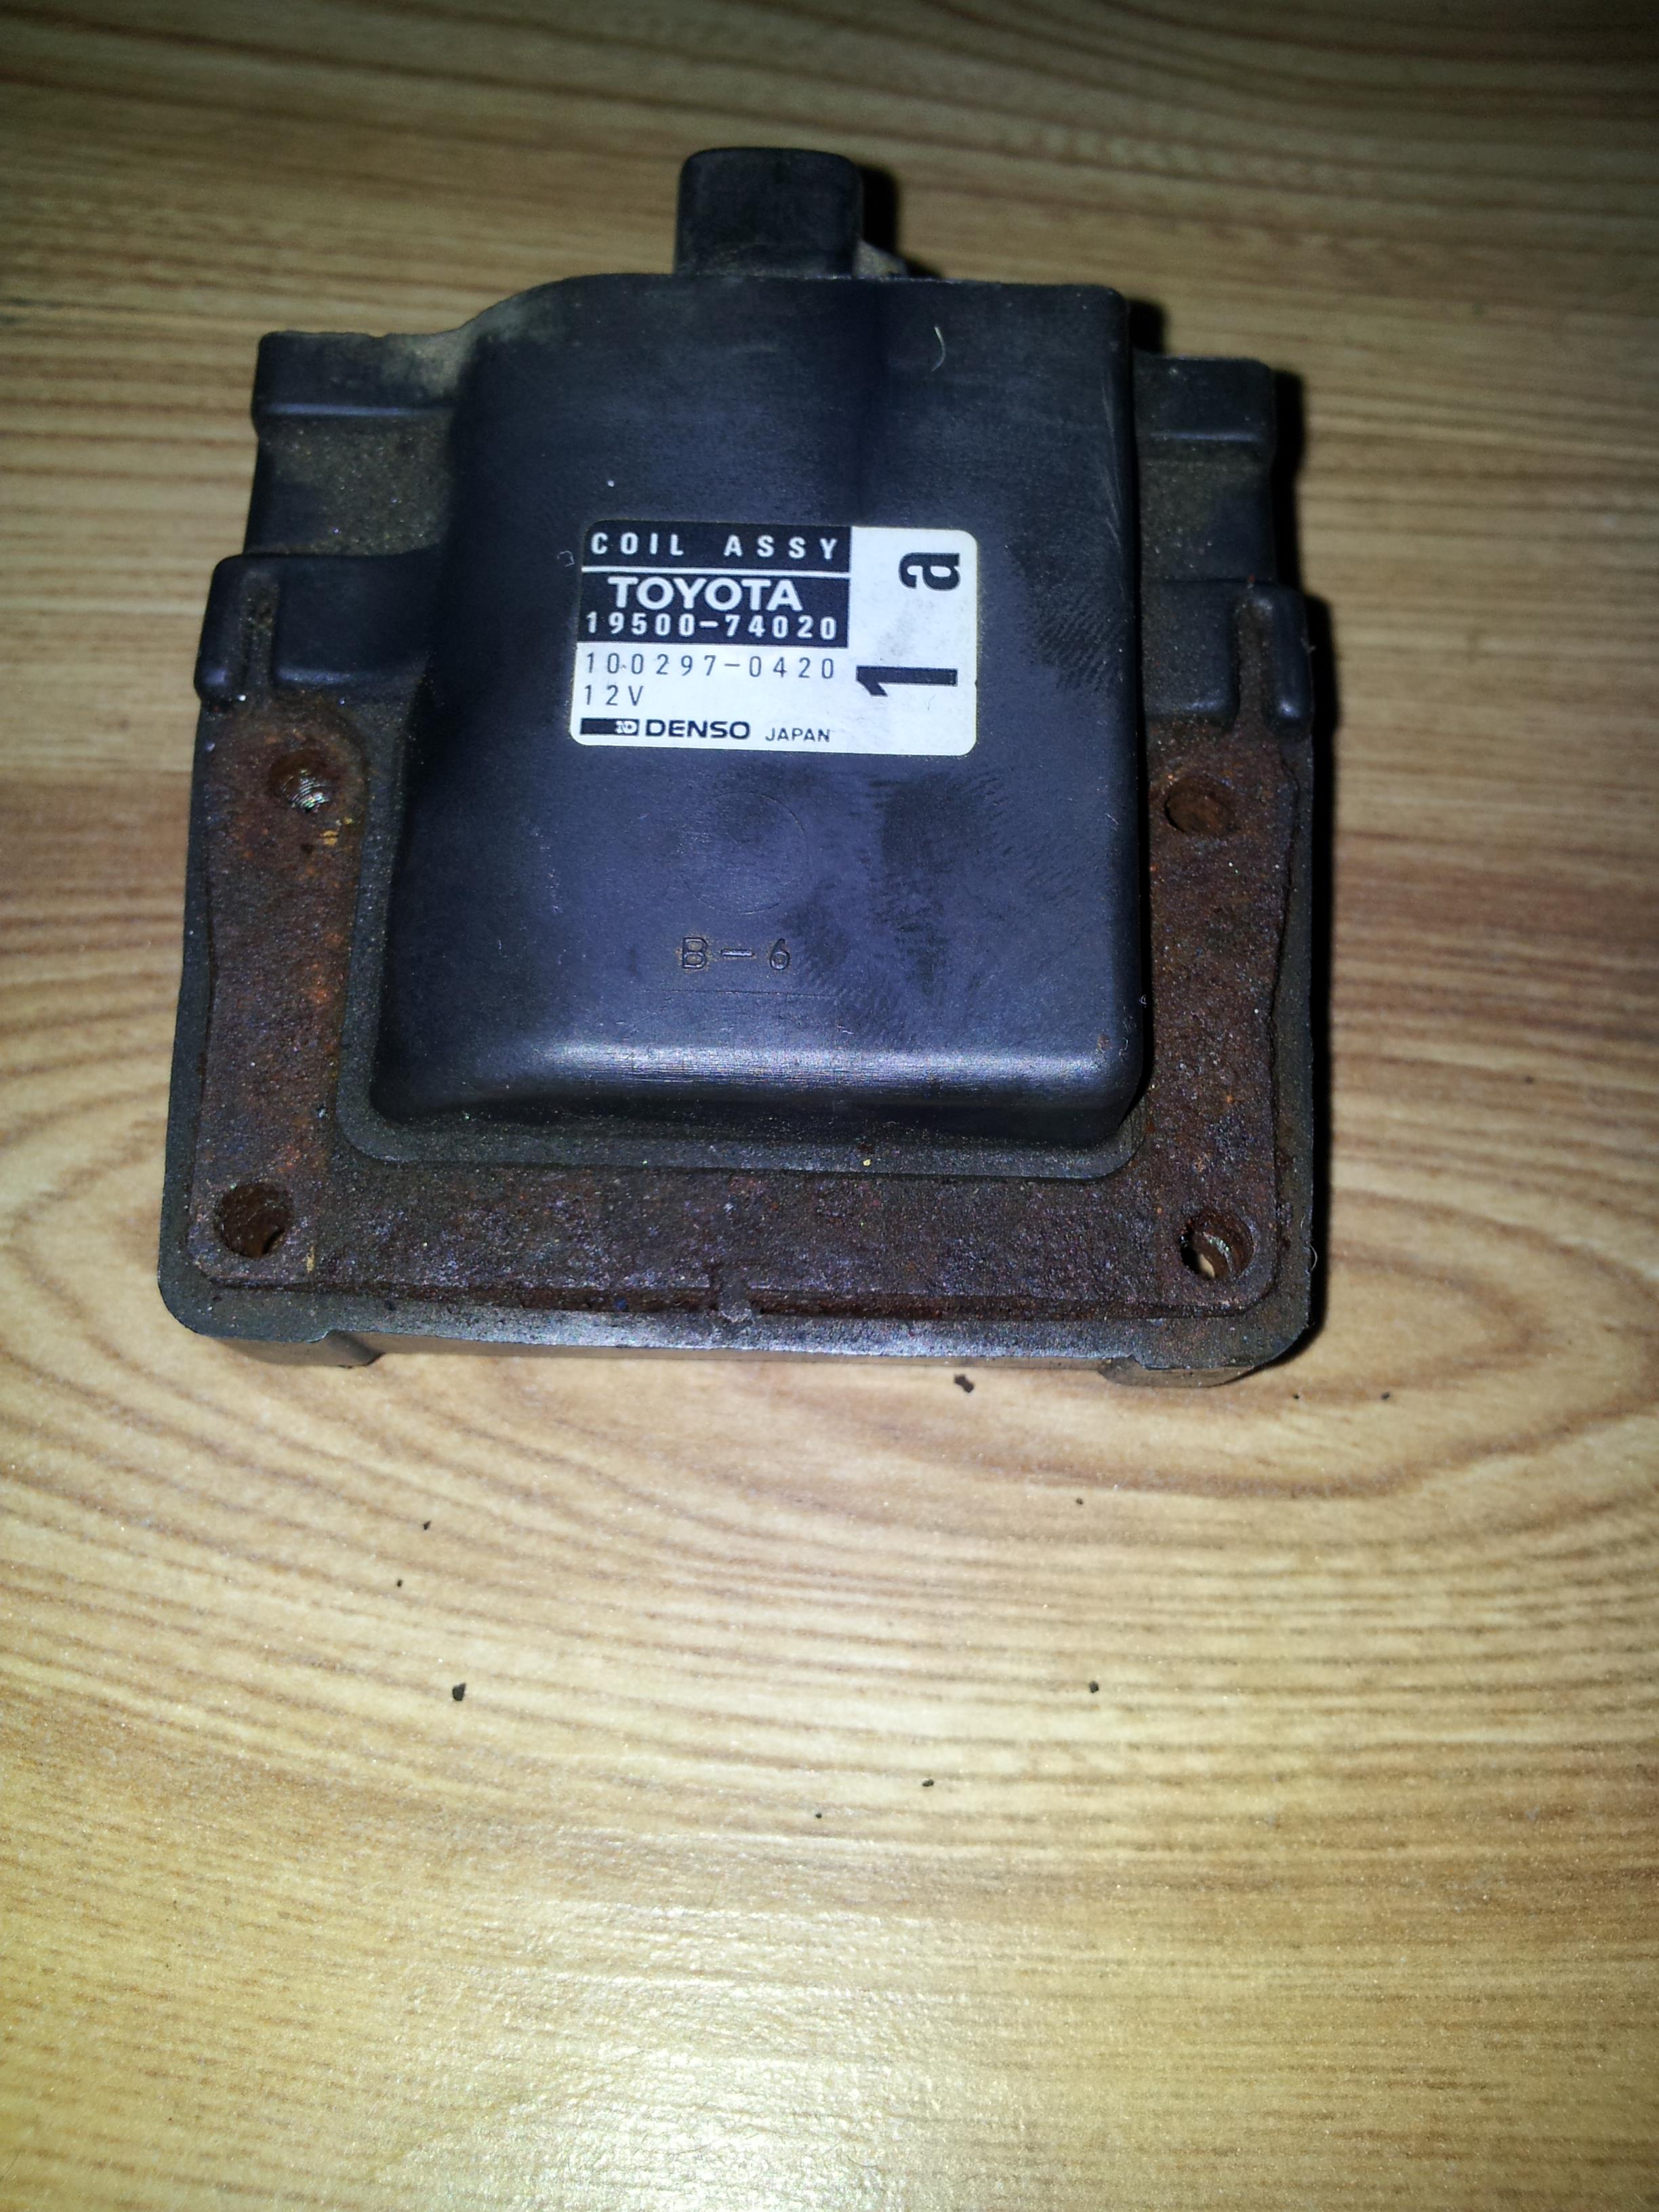
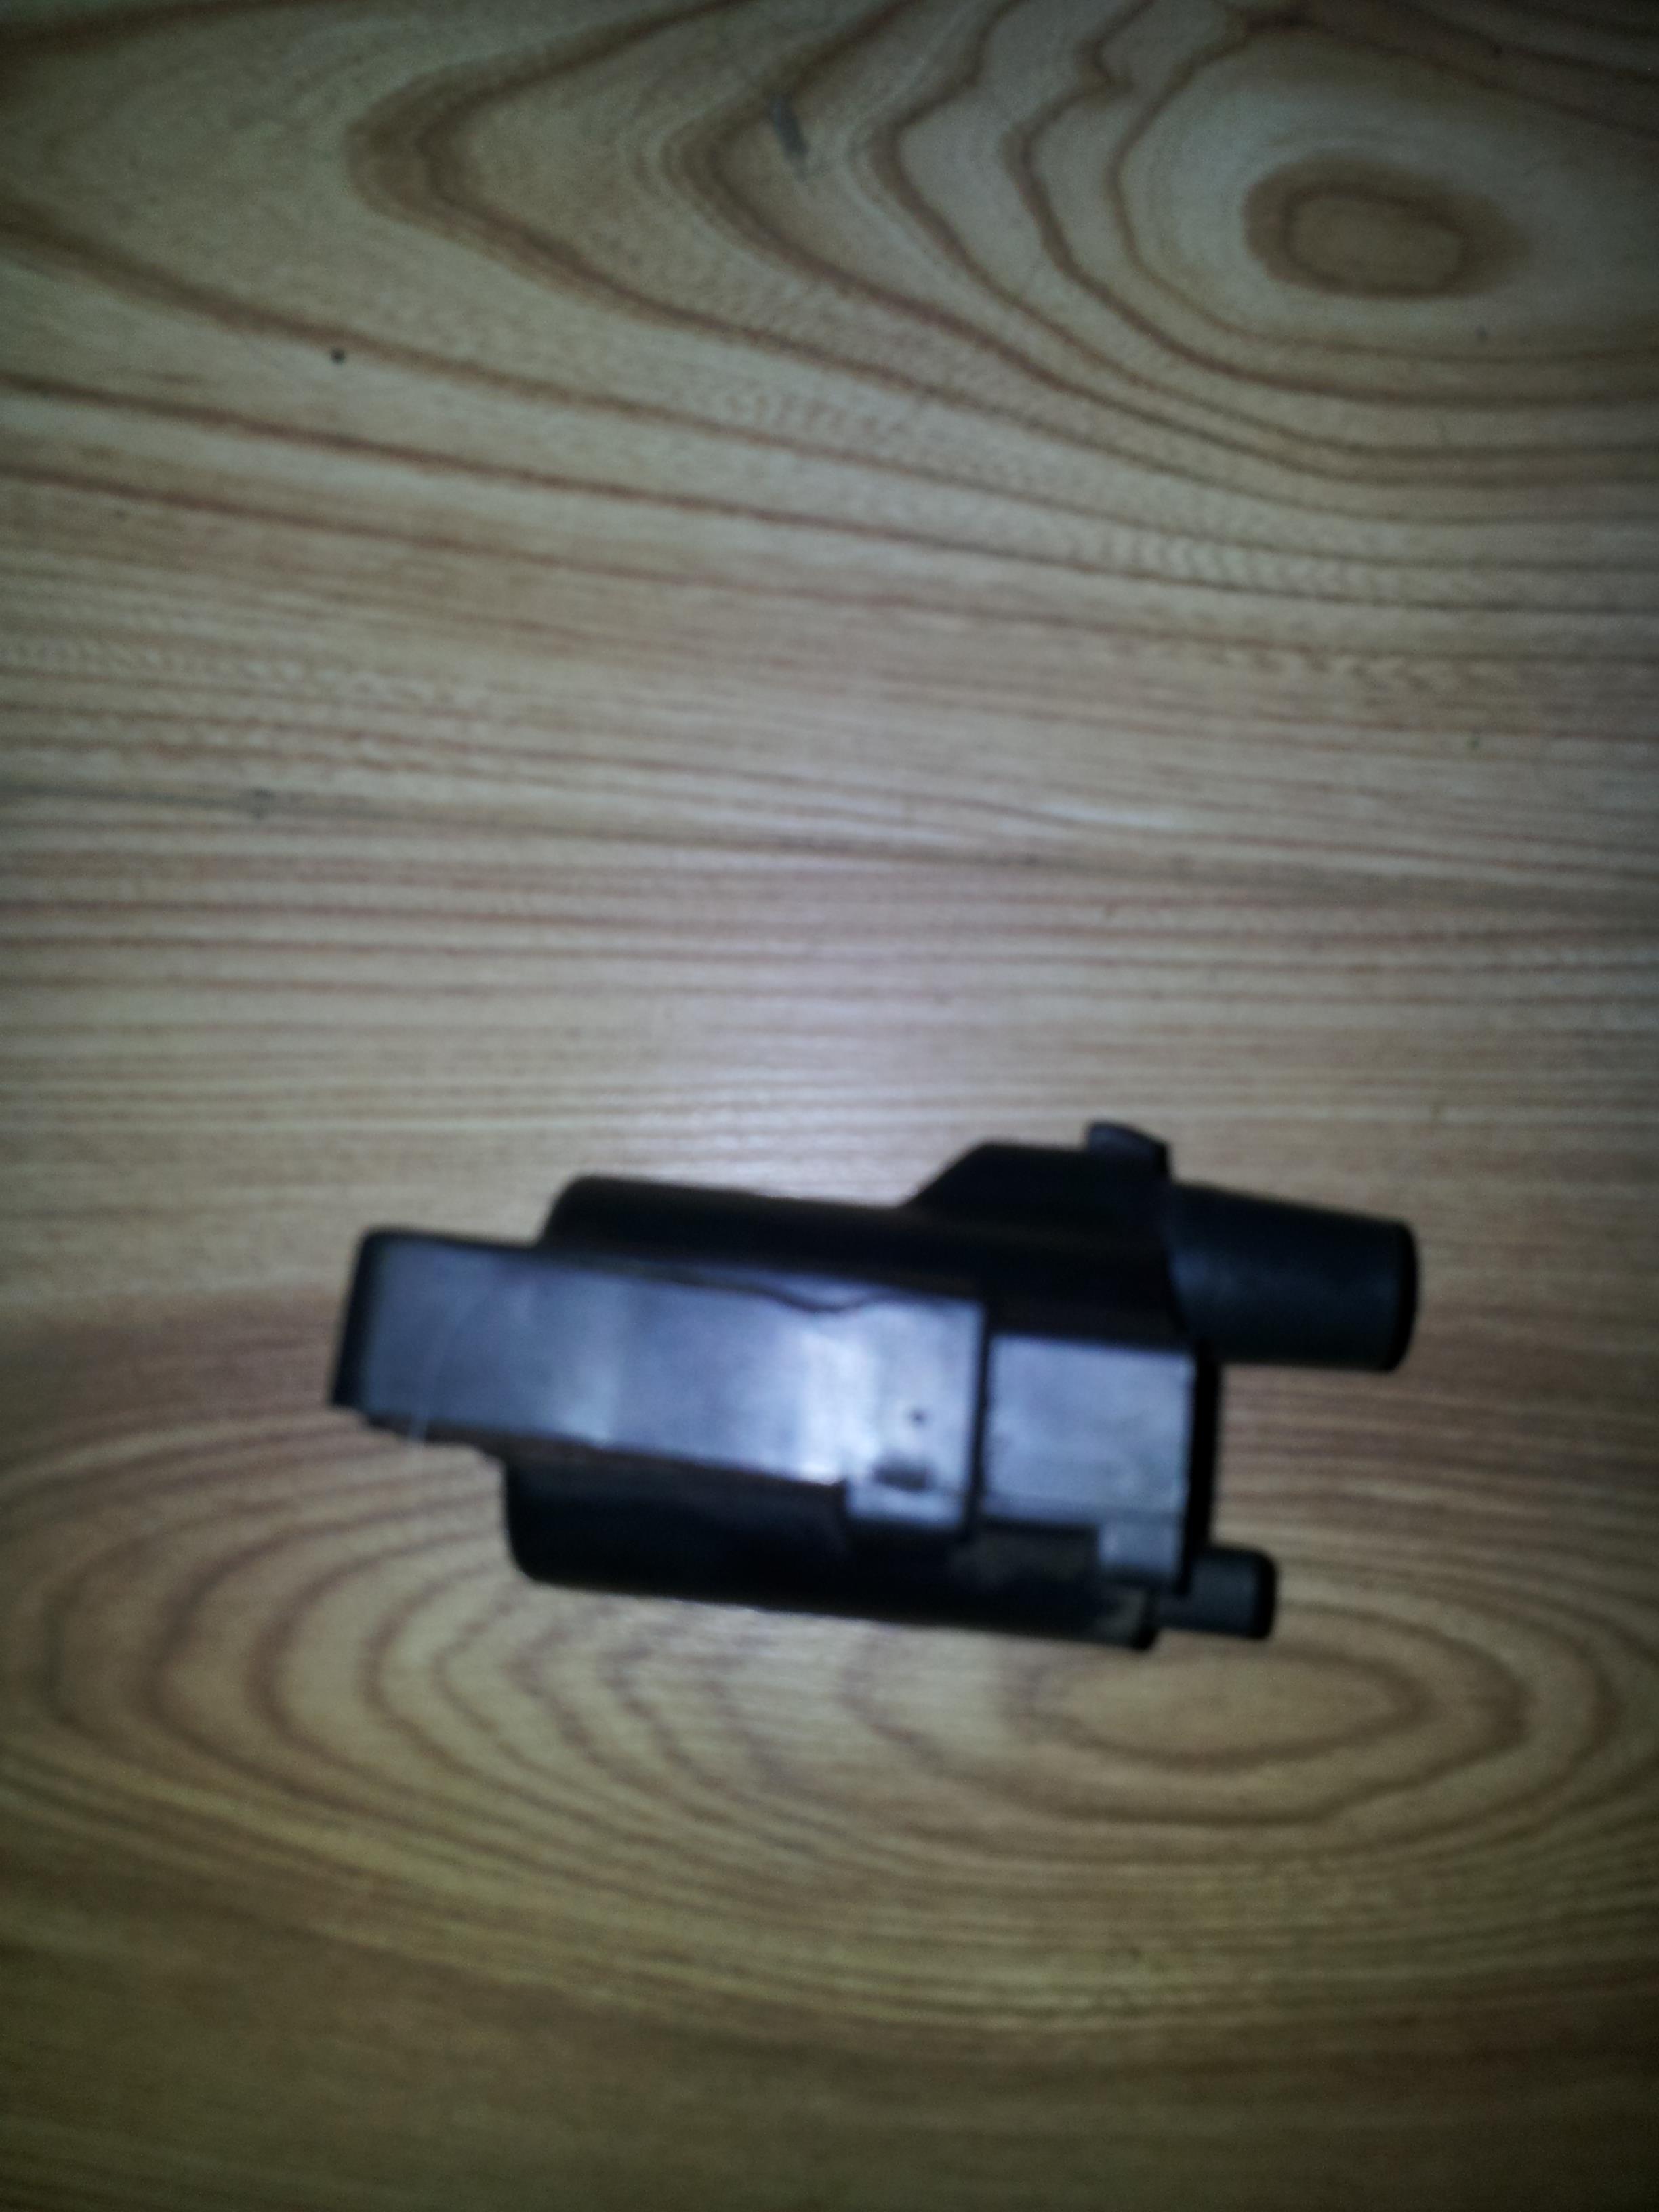
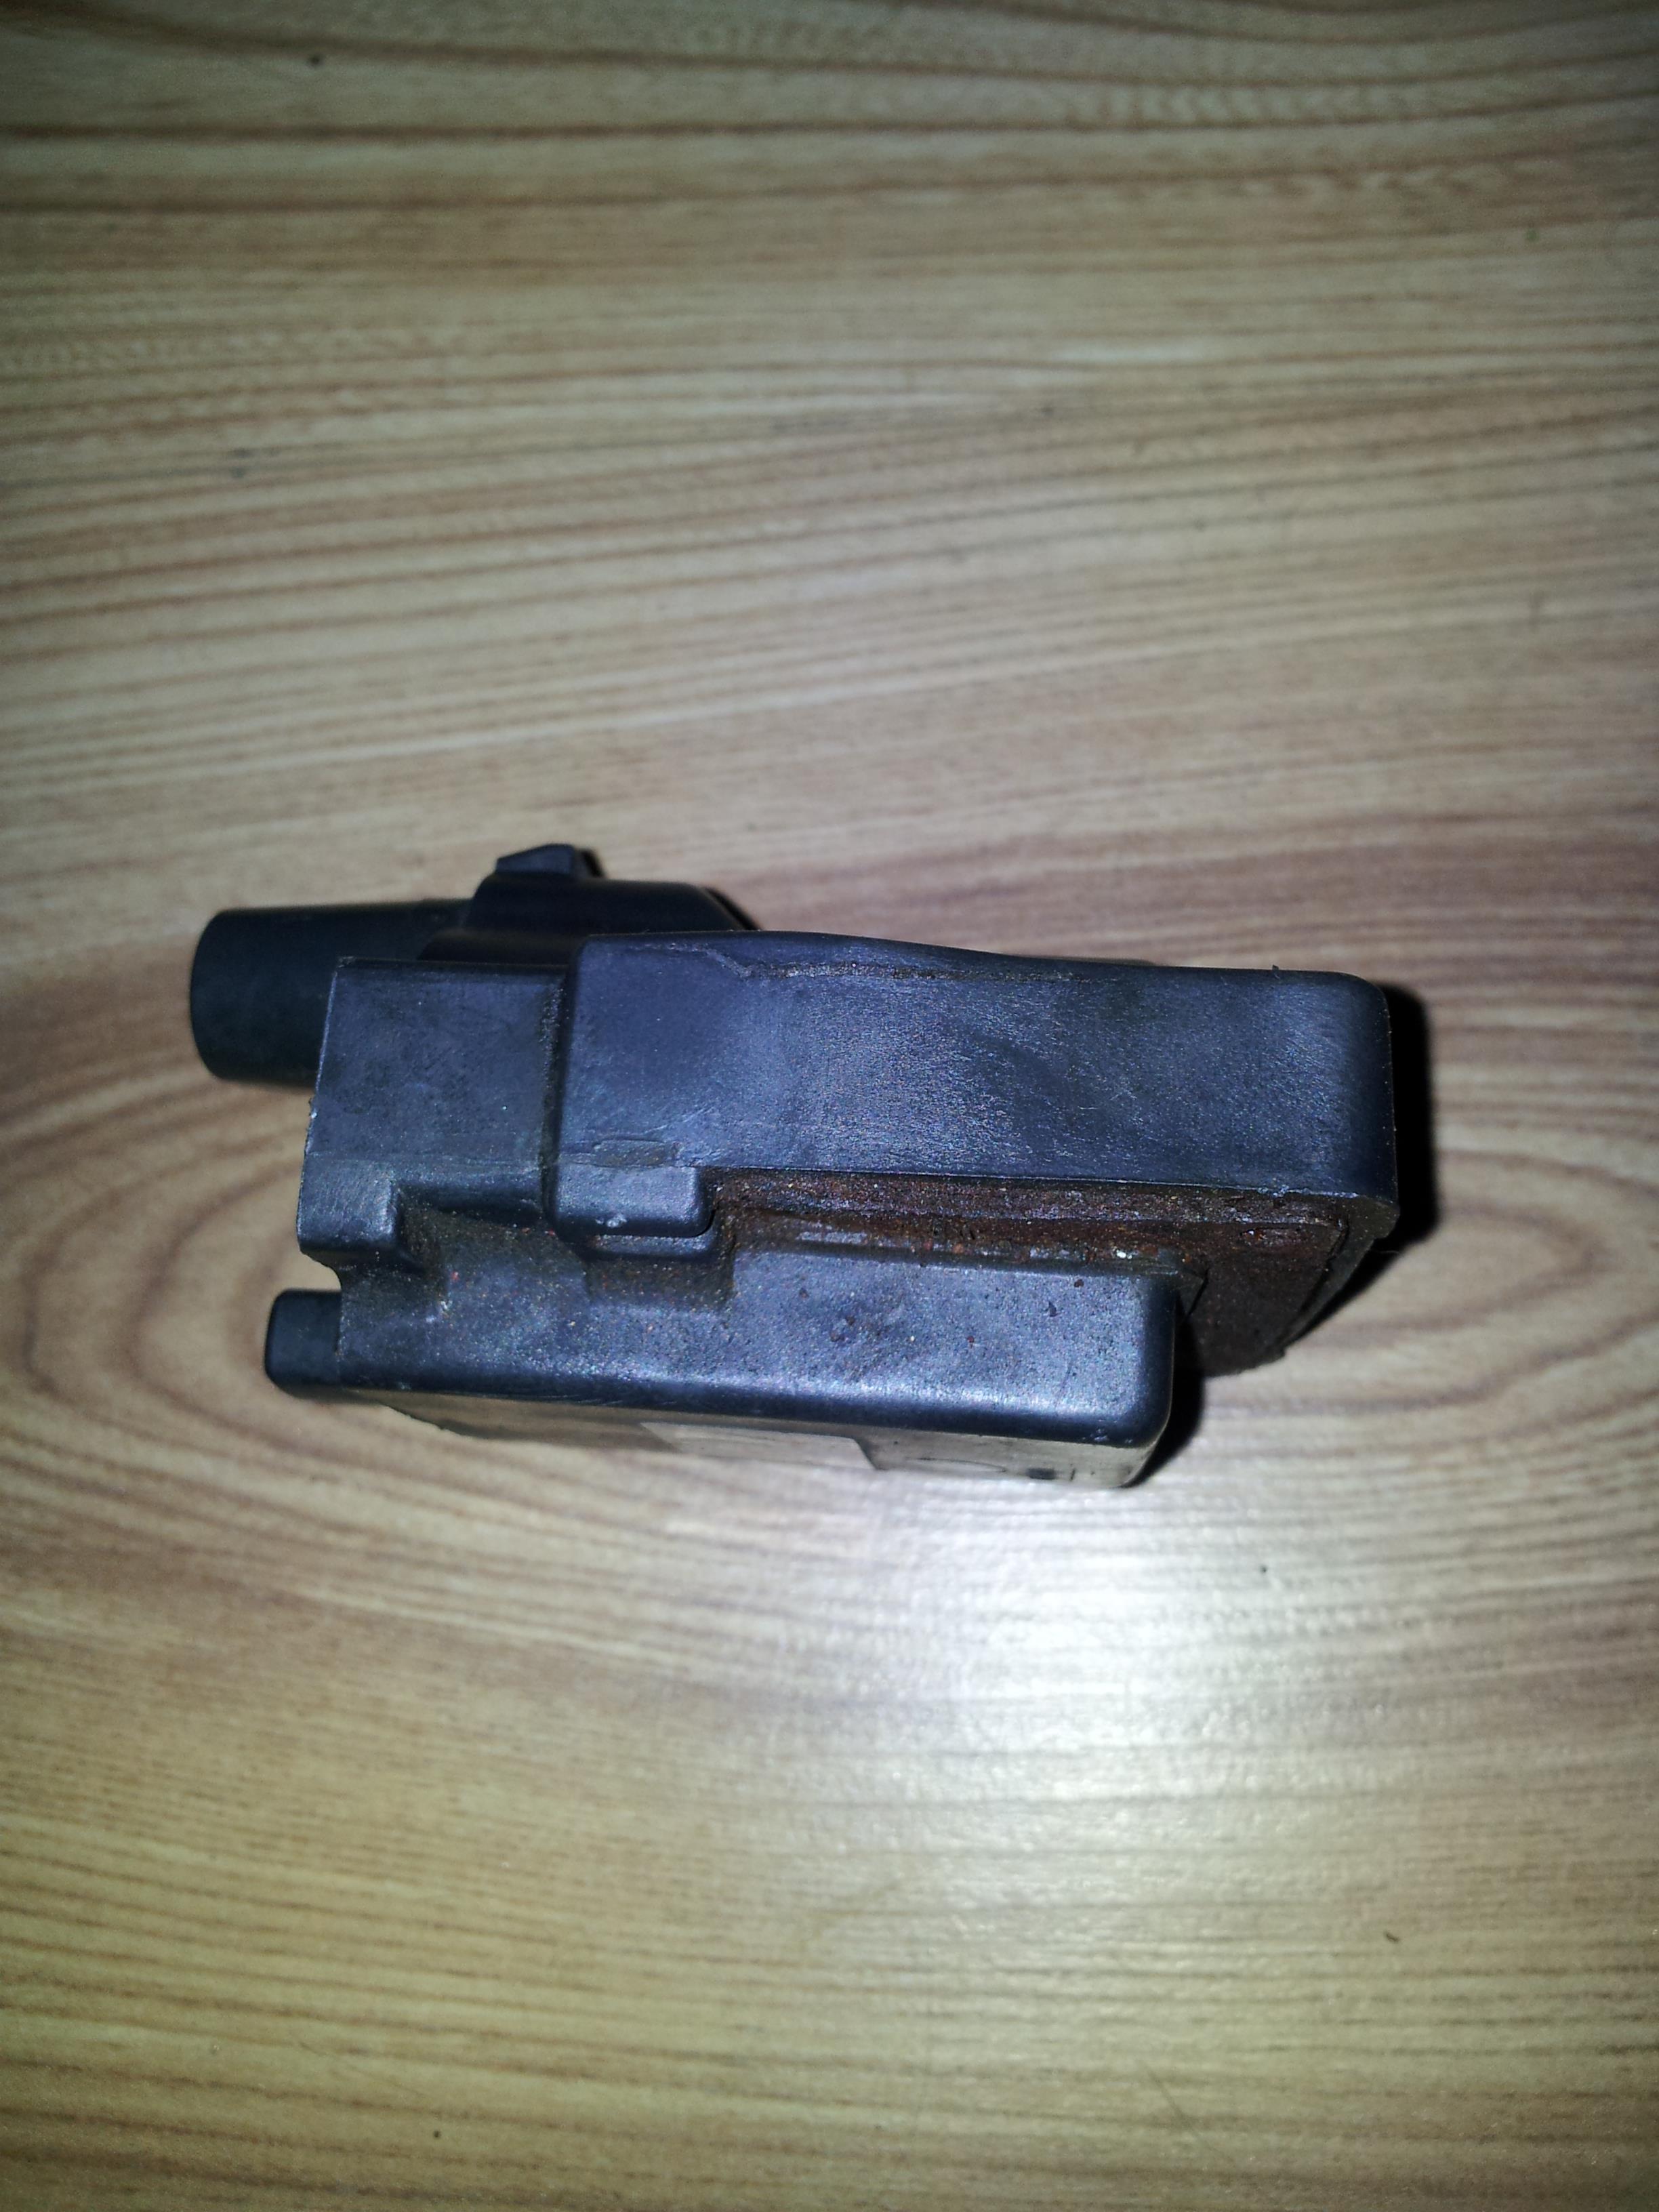
Now on those pics you can see the crack on each side and the rusty delamination on the underside. This lets the coil get damp and stops it working.
Fitted the new coil and she fired straight up.
Now on to pointers
Be careful when releasing the electrical connectors. They all have a clip of some sort that you don't want to break.
Be gentle with the king lead as they can be damaged especially the L shaped end at the dizzy (I had to replace mine a couple of years ago as it had snapped inside the insulation at the corner of the L)
When I went to remove the coil from the bracket I found the machine screws wouldn't budge, not 1 of the 4. I had to drill the heads off them. I found a 6mm spot weld bit was perfect for this.
So You may need 4 off M4 x 15mm pan head machine screws
On refitting I ran a tap through the threads on the bracket and added a little copperslip. After fitting the coil I covered the heads and ends of the screws with Vasoline.
Whilst the bracket is off the firewall also remove the igniter and clean up the mounting points on the bracket for the coil, ignitor and bolts. I used some coarse sandpaper for this.
Access to the coil is improved by releasing the fuse box from its mounting points. Beware of the bolt in the corner by coolant bottle top. This can seize in its bracket and snap off (no need to guess how I know this)
Basically this 10 minute job could turn into a couple of hours
HTH
Now when I got the car 5 years ago I noticed the coil had cracks in the plastic casing. It still worked but should have been replaced. At the time I was on a deadline and very tight budget so I just sealed up the cracks with RTV silicon sealant.
Then yesterday on the way to work I was happily driving down a dual carriageway on the outside lane when the engine cut out on me. At this point the dual turned into 4 lanes at a massive junction/roundabout and I was on the right hand lane (the least used for this junction). So hazards on, out of the car for safety and on the phone to the AA. They took a couple on mins to answer and then going thro all the faff was another 3 or 4 mins, so before hanging up I thought i'd try to start it one last time. Thankfully she sprang into life.
My theory is the engine heat dried out the coil enough for it to work again but I knew I needed a new one. So once I got to work I phoned tcbparts @ 1pm and got the new coil @ 10am this morning
Now onto the crux of my post.... I don't need any help, I just thought I would post up some pointers especially as recently I have noticed a few posts relating to non start and poor running in the wet that could be related to the coil.
First up is my old knackered coil This is a rev 1 with 7mm ht leads so the part number is specific to that.
Now on those pics you can see the crack on each side and the rusty delamination on the underside. This lets the coil get damp and stops it working.
Fitted the new coil and she fired straight up.
Now on to pointers
Be careful when releasing the electrical connectors. They all have a clip of some sort that you don't want to break.
Be gentle with the king lead as they can be damaged especially the L shaped end at the dizzy (I had to replace mine a couple of years ago as it had snapped inside the insulation at the corner of the L)
When I went to remove the coil from the bracket I found the machine screws wouldn't budge, not 1 of the 4. I had to drill the heads off them. I found a 6mm spot weld bit was perfect for this.
So You may need 4 off M4 x 15mm pan head machine screws
On refitting I ran a tap through the threads on the bracket and added a little copperslip. After fitting the coil I covered the heads and ends of the screws with Vasoline.
Whilst the bracket is off the firewall also remove the igniter and clean up the mounting points on the bracket for the coil, ignitor and bolts. I used some coarse sandpaper for this.
Access to the coil is improved by releasing the fuse box from its mounting points. Beware of the bolt in the corner by coolant bottle top. This can seize in its bracket and snap off (no need to guess how I know this)
Basically this 10 minute job could turn into a couple of hours
HTH